Showing posts with label Work in progress. Show all posts

Monday, 18 April 2016

69. Speaking of Super Smash Brothers... and Brothers. Dr Mario Amiiibo part 2.

I mean, that's what I last posted about, right?
Right!

So I've been on a bit of a painting roll right now.
Not something that happens too often so I'm taking it as far as it will go.
I've set myself a few projects to do while I'm in the zone, and one of them was to finish my Dr Mario custom Amiibo I started on post 59.

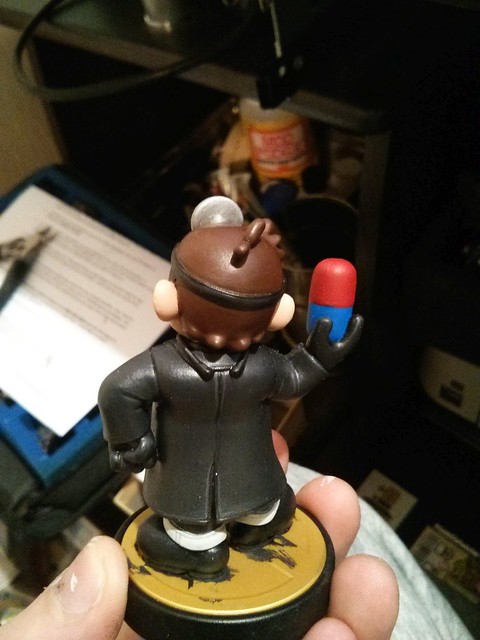
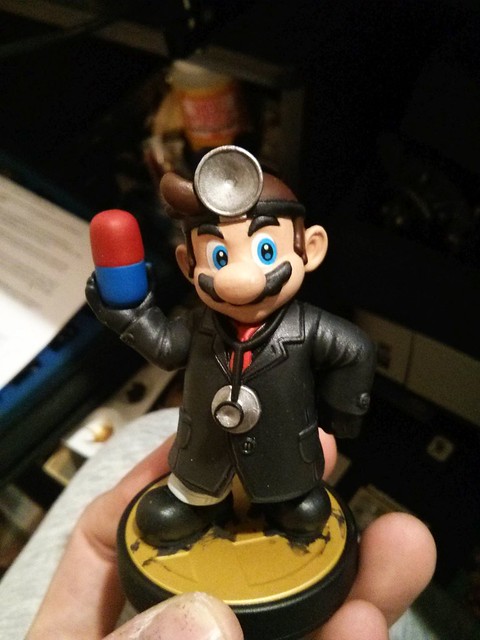
Cutting right to the chase he's about done!
004

005

So, because I'd used significantly less masking tape than required to do this guy (read as none at all), I had to repaint everything; the pill, the hair, the skin... all of it.

But yeah, all of those bits are painted now, and he just needs his base cleaned up and he's done!

2 Amiibo's in the bank, and more to come for sure!

If you'd like to get a sneak peak at what I'm working on, I usually post it on my instagram as and when I'm doing it, so go heck that out!

On occasion I may stream a painting session, so you can go follow me on Twitch for that
(and other stuff, mainly Chronicle: Runescape Legends at the moment).


If you have any questions about this, or anything else I do (or other comments/ constuctive criticism/ praise) then feel free to leave a comment on this blog/ my instgram/ tweet me (@DarKHaZZl3).
This includes questions about commissions.

Anyway, that's all for now.
More blog activity heading your way soon (I know, quite a lot recently, right??)
Peace!

-DH-

Tuesday, 29 March 2016

66. Elvis. Custom Marth Amiibo part 1.


Yep, it's another custom Amiibo project.

I have a few of my own on the go now, and I really should get round to finishing them off.
If you read my last post I have started to make some progress on them again.

In the meantime I've been pottering about doing other projects here and there, which you can check out over on The Underhive Hero.

While my Custom Amiibo stuff is fairly common knowledge amongst my friends, it dpoesn't really do much for the majority of them; not a great dela of them own the WiiU/ 3DS (which in my opinion is a crying shame!).

However, in one of my circles of friends the Nintendo hype is real, and recently one person from said group approached me with an offer.
He would provide a load of Amiibo's for me to pretty much do whatever I fancied with them.
This way I could widen my palate so to speak, with different style, concepts, colour schemes and so on.
As cool as this was, I insisted that he have some creative input too, so that he was happy with the stuff he got back.
Also, it gives me a 'working for commission' feel as apposed to off my own passion, which is a different mindset entirely.

002

Since then we've discussed several ideas, and through that process I've come up with some great concepts for Amiibo repaints and sculpts.

A few of those are some time off, and in the interim I wanted to get started on something right now.

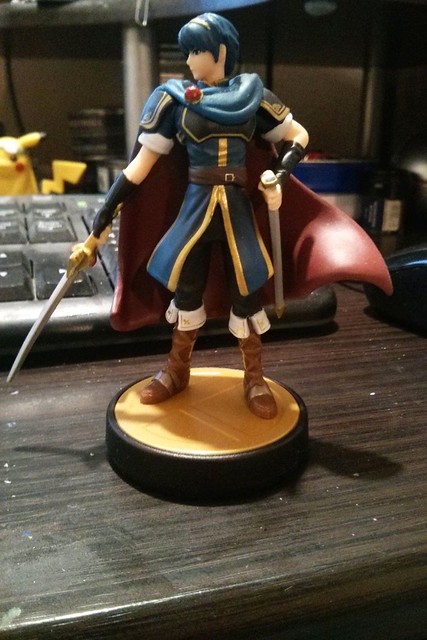
So we decided to start with Marth from the Fire Emblem series.

003

While some other projects are going to involve sculpting and stuff, we just went with a simple repaint option with this guy, and it was one we both agreed on immediately (albeit for different reasons).

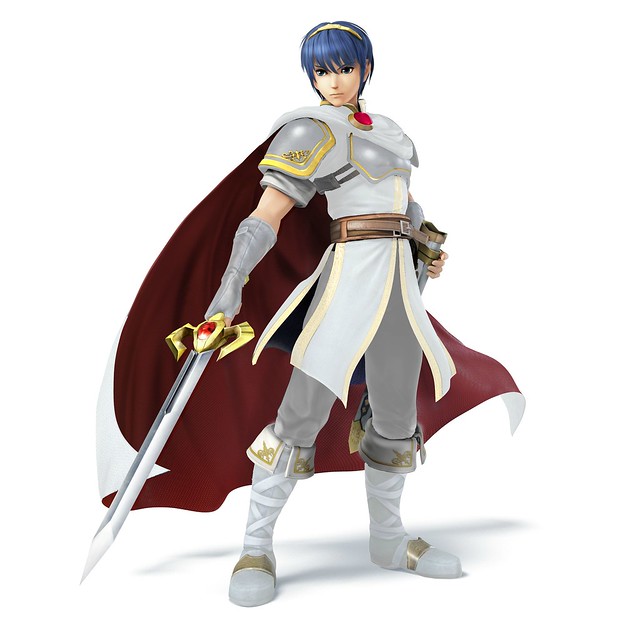
We decided to go for Marth's white outfit from Super Smash Brothers

001

Marth has been my main since Melee, an I've always played in the white scheme and called him Elvis.
No idea why.
My friend just thinks he look fabulous in white...


So he's currently being base coated in grey, ready for many, many layers of ever lightening grey to white.
Fun times ahead.

Stay tuned for more updates.

If you are curious about said friend, his handle is My Wallet; short for My Wallet The Butt Knight, and you can find him on YouTube where he posts videos about Smash Brothers.


If you want a sneak peak of my work, I tend to post pictures of the things I do on instagram as I do them, so you can check me out on there.
I'll also post about it on Twitter form time to time @DarKHaZZl3.

Feel free to message me on here, on Twitter or Instagram if you have and comments, constructive criticisms or other feedback.
Alternatively, I am open to the concept of commission work; both for Amiibo's and other Miniatures, so feel free to contact me regrading that.

Peace!

-DH-
Wednesday, 16 March 2016

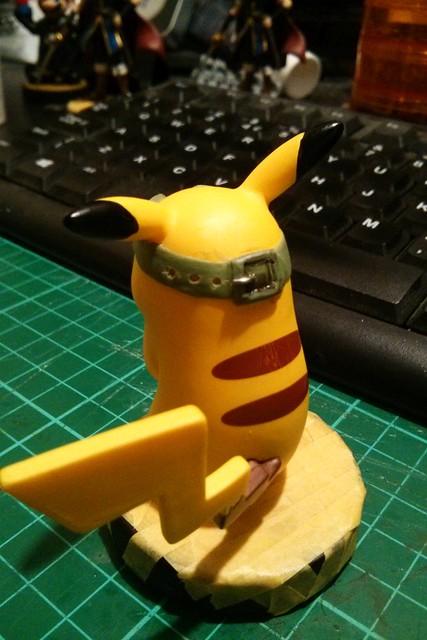
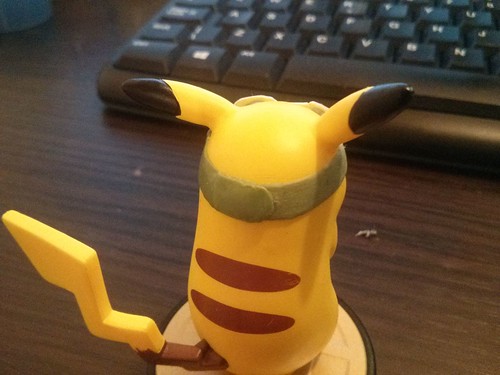
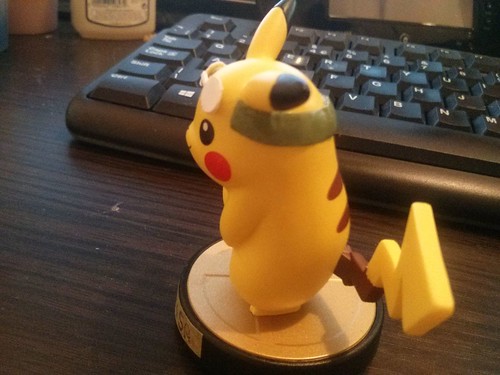
65. The return of Pichu Senior. Pikachu Amiibo part 3 (I guess?)


So this project hasn't been updated for a while...
But I'm working on some Amiibo stuff right now, so I thought I may aswell finish this one off too.... one less project hanging around!

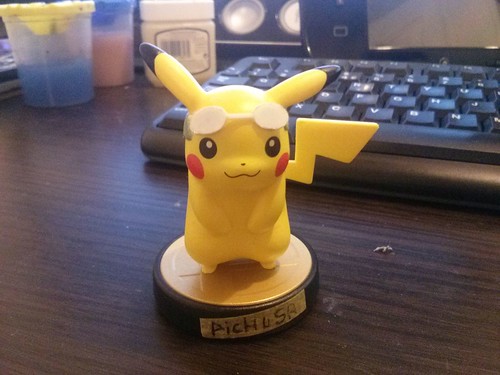
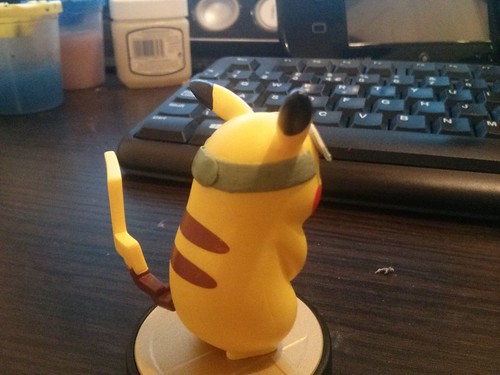
Pichu Senior, now with buckle!


013

I'm pretty happy with this guy overall.
I've applied the varnish ready for painting, but OI just haven't decided if I'm going to add a rim to the goggles yet...

Anyway, keep your eyes peeled here and on my for more progress on this one, and hopefully a swathe of other stuff too!

Peace!

-DH-
Wednesday, 20 January 2016

59. Just What The Doctor Ordered. Dr Mario Amiibo part 1.


I know. it has been a long time since an update across all of my blogs.
I can make all the excuses in the world, but I just haven't made the time I should for this, or any of my other blogs.

That's going to change...hopefully.
I want to get back to weekly updates, even if they end up being diary like entries again.
I've alreayd made a start here, and over at The Underhive Hero where I've posted baout my Lizardmen Bloodbowl team!


Back to the task at hand....

Today I have something new!


If you follow my Instagram this will not be that new too you, but if you don't then enjoy!

A while back I posted an update about my completed Kirby Amiiibo in semi tribute to Ross from GameGrumps/ Steam Train.

Well, I thought it was time for more custom Amiiibo work.
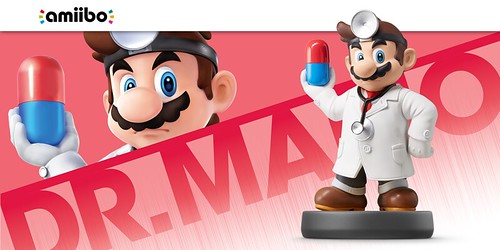
This time round it is a Dr Mario repaint.


001

On the now rare occasion me and my brother play Super Smash Brothers (especially Melee) with each other we always end up having a final showdown between our two best characters; Marth being mine (despite Jigglypuff being my favorite), and Dr Mario being my brothers.

It is his birthday in a few days, so as well as something practical, I thought I'd get him something a little more unique, personally and thoughtful.
Also, it gave me an excuse to customise another Amiibo!

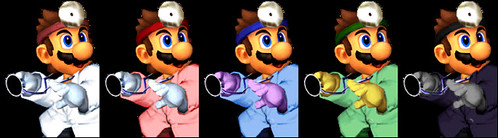
My brother always play Dr Mario wearing his black costume;


002

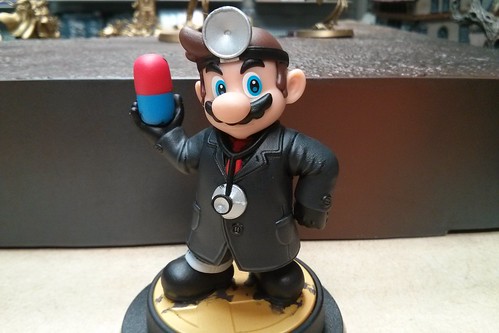
So naturally that is what I set out to do.
One session in and here we are!


003

All of the Dr's coat is done, the shirt and time are fine too.
A pretty simple paint job in all honesty, and just using citadel paints (Abbadon Black, Mechanicus standard Grey, Mephiston Red and Evil Sunz Scarlet), and a bit of satin varnish between layers to help it stick to the figure.

I just need to do a little more work on the boots, legs and the head in general, but it's a good start!


If you're interested in my work, then feel free to leave me a comment, hit me up on Twitter or, if you want to see what I'm working on sooner rather than later, then follow me on Instagram.

Just for the record, I'm totally down to do commission work ;)

Anyway, that is all for now.
Hopefully this will see more regular updates, along with my other blogs, so stay tuned!

Peace Out.

-DH-


Saturday, 3 October 2015

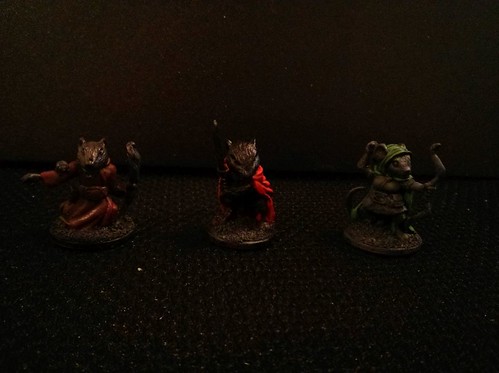
57. Custom Paintjob: Mice and Mystics part 6. Award Winnnig Rats.

Nope, not actually award winning, just finished.

Check the not so great pictures out!

035

036

If you follow me on Instagram you'll know I've actually done a lot more on the Mice and Mystics models.
I just haven't got round to posting them.

I've also done a fair amount of work on my Lizardmen Bloodbowl/ Age of Sigmar stuff, which you can see over on The Underhive Hero.

I'll be getting back into posting a bit more regularly now I'm settling in to my job, and now I've passed my driving test, so watch this space (and my others too)!

See y'all soon

-DH-

Friday, 21 August 2015

56. Custom Paintjob: Mice and Mystics part 5. The Rat Pack.

So that new job I was talking about in my last post has actually taken up a lot more time than I care to admit,

I did some more work on my Mice and Mystics mini's (quite a while back actually), and I thought I'd share some progress with you.

I ditched the Mice for a moments and decided to work a bit more on the mobs of enemies.

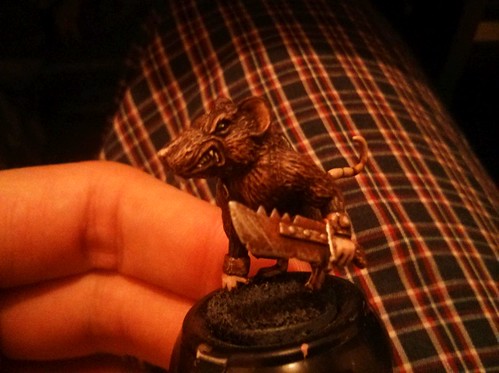
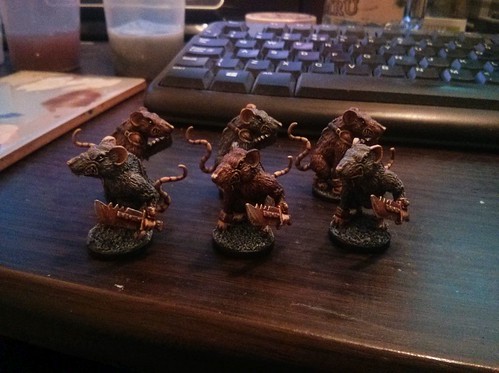
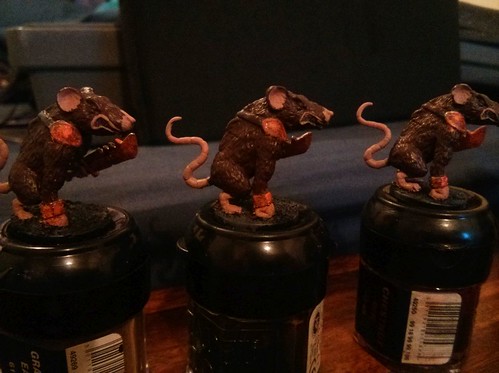
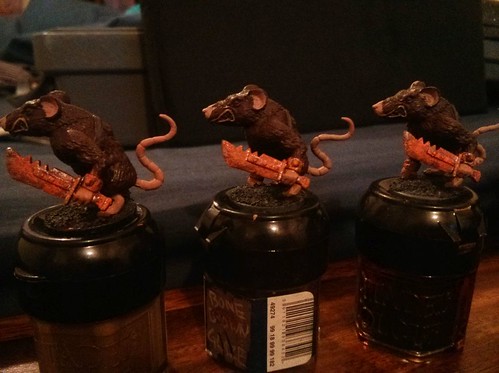
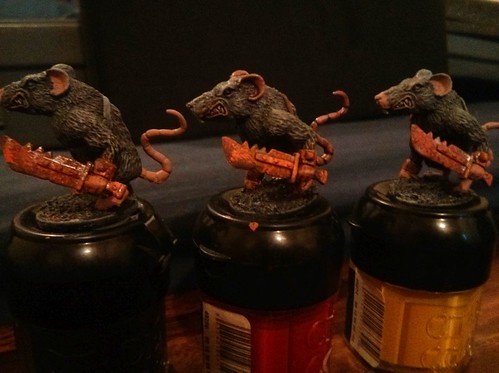
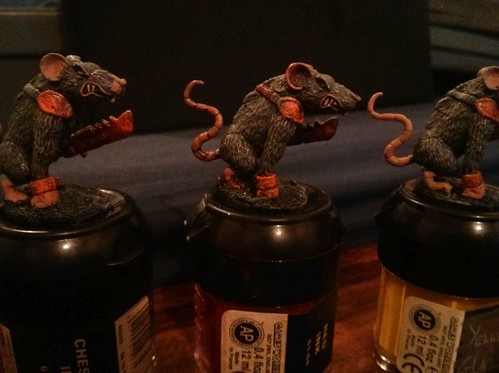
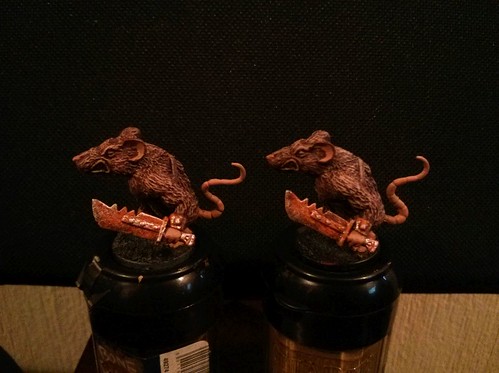
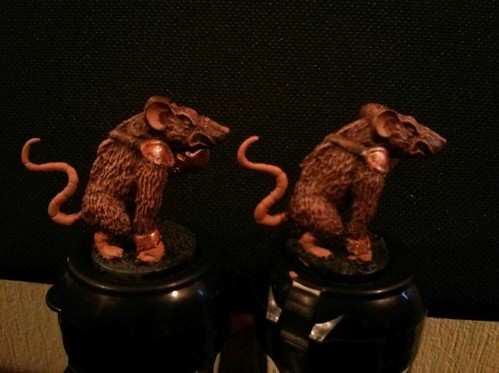
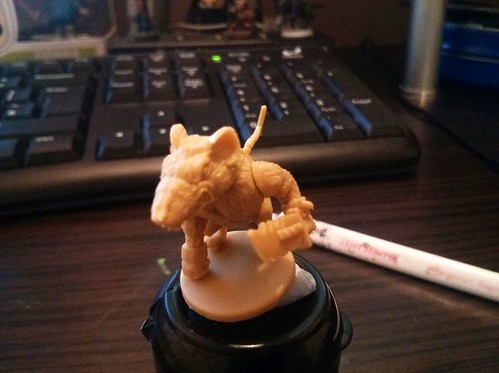
I decided to work on the rats first

at this stage it is just initial base colours and the rust effect for the weapons.


029


030


031


032


033


034

I've actually done a lot more since.
I'm currently work on the details and parts without fur.
There isn't a great deal left to do so hopefully I can post them on here soon.

If you'd like to know anything about this project then drop me a comment or a Tweet @DarKHaZZl3

I've also started several other projects, so be sure to check out The Underhive Hero for update son those.
Also, The Cardboard Cartographer is up to issue 11, so if you like board games, check that out too.

That's all for now.

-DH-


Friday, 31 July 2015

55. Custom Paintjob: Mice and Mystics part 4. Finished stuff.


Sorry for the delay guys, I have been mega busy.

I've been working on The Cardboard Cartographer.
Recently I posted issue 10 about the Spiel des Jahres winner Colt Express, so go check it out.

Also, I have a new job!
Firstly, this had kind of messed around with my days off and such.
Secondly, it involves painting miniatures, so doing it a lot a home might burn me out a little.
I'm taking my time with my personal projects so I can enjoy them.

With that said I have got some progress on the Mice and Mystics models.

I decided to split the remaining models into little, more manageable groups.

So to start with I worked on Colin and Lily

021

022

At this point Colin was almost finished, but Lily had a fair way to go.
But after some work, and a lot of touch us later...

So here is the completed Colin

Front

023

Back

024

Lily

Front

025

Back

026


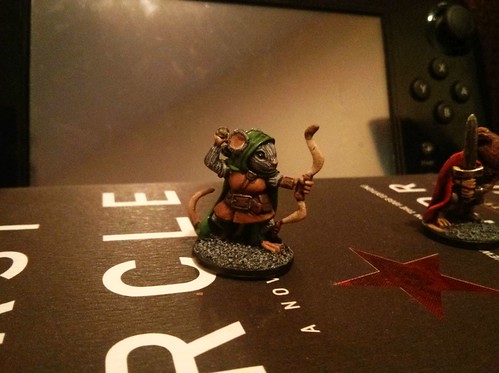
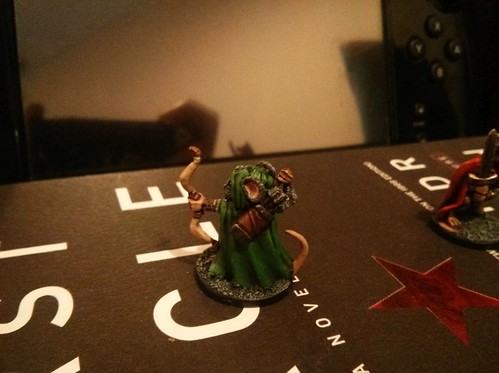
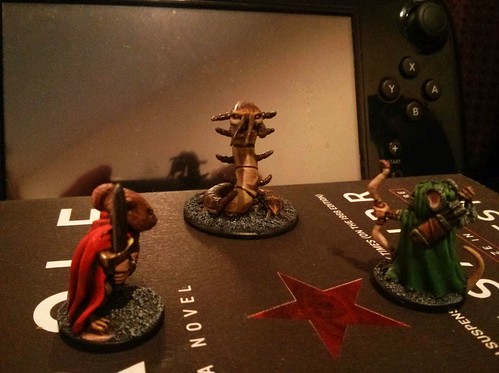
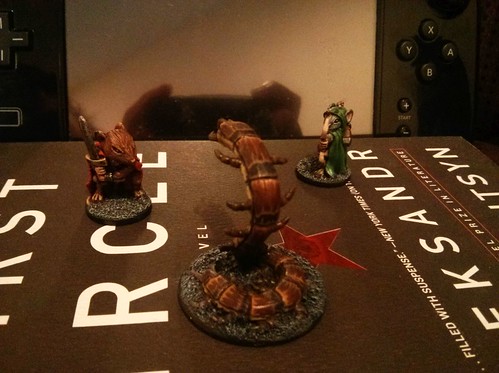
And a couple of action shots with the centipede

027

028

So those guys are done!
On to the rest!

If you're enjoying this project leave a comment, hit me up @DarkHaZZl3 on Twitter, or check out my instagram where I tend to post things as I do them.
So, you know. Spoilers!

Peace out!

-DH-

Monday, 15 June 2015

54. Custom Paintjob: Mice and Mysitcs part 3. Lots of progress!

I know in the previous post I was talking about smashing out the project... and then nothing.

Well, the UK Games Expo happened. That took a whole lot of my time.
You can check out my write up in issue 7 of The Cardboard Cartographer.

Anyway, in the last few days I've been back on the painting hype.


So without further adieu.

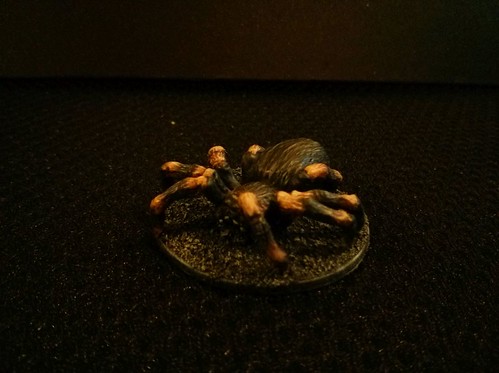
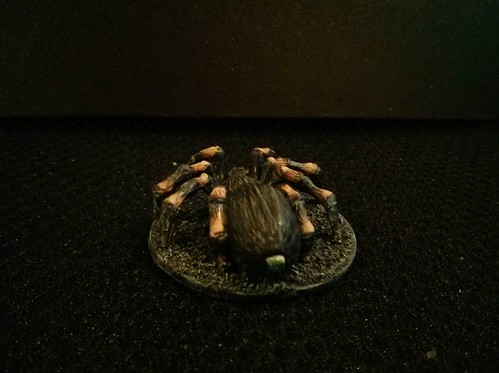
I've done a lot of work on the Spider mob miniature.


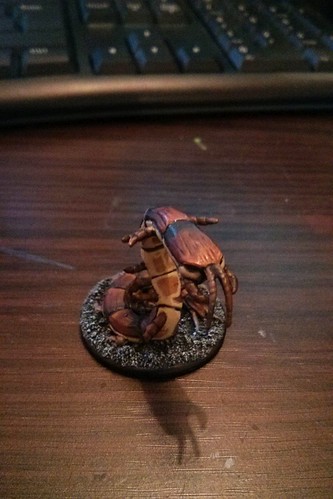
014


015


016

If you google tarantula this is pretty much one of the first ones that comes up.
I can't say I enjoyed the spider to be honest.

Theoretically, a tarantula would have enough detail to pick out, with the hairs and such, but this model just doesn't.
The hair is not raised enough to be picked up well with drybrushing, so all of the detail I've done is freehand.
Another area I didn't enjoy painting was the legs. They simple don't match symmetrically. Which is absurd.

The fangs and read stinger/ web thing was done with Tamiya clear green to give it a sickly shine.


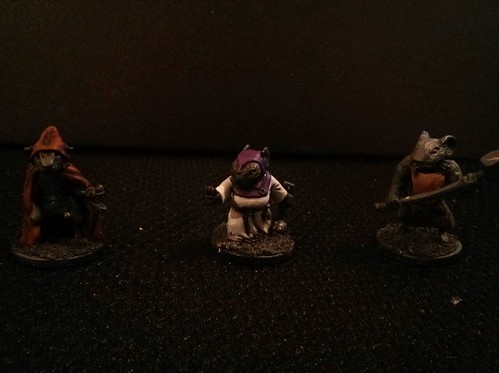
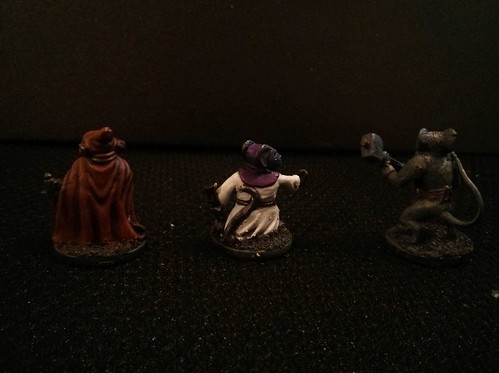
Moving away from the enemies, and on to the good guys.
These are the miniatures you really want to stand out

With most miniatures the face is the focal point, however, as these miniatures need to be easily distinguishable at a distance.
To this end I've spent a lot of time focusing on their largest area of difference; their clothes.

When you look at the character cards most of the characters in mice and Mystics the clothes are distinctly different colours.


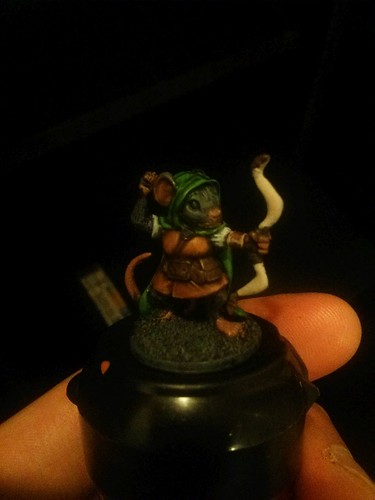
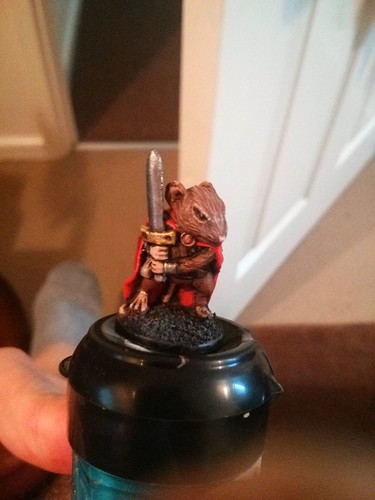
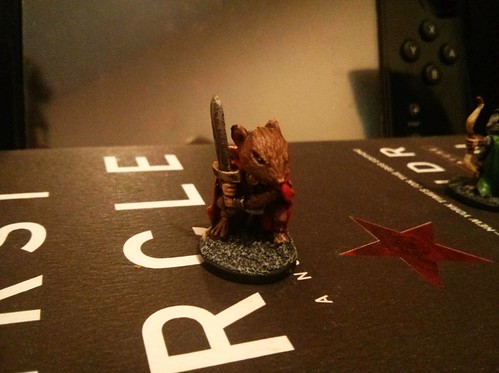
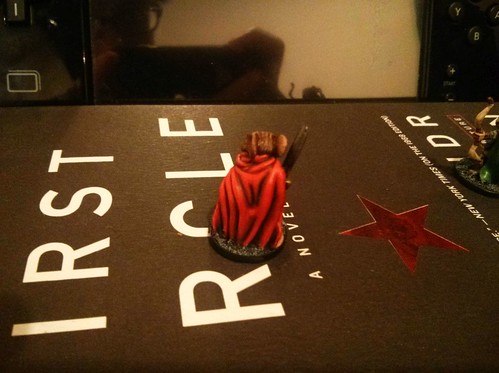
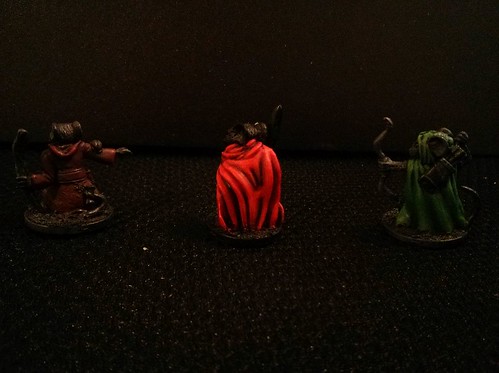
017


018


019


020

The red Cape; Colin, green cloak; Lily and white habit; Tilda are all visual distinct from a distance without anything extra being required.

Filch, Maginos and Nez are all shades of brown.

Filch has a hood, and as such that will provide him with a dark brown overall appearance.
Nex only wear a set of blacksmiths armour, so his unique colour will be his fur which is grey.
Maginos the mage is a little of both. Like Flich his cloth s are brown, but like Nez has an uncovered head. However, Maginos has a much lighter appearance due to having lighter fur.

I think these factors will ensure that these three characters will be visually distinct from each other. We'll see.


So yeah, it might not seem like a lot of work, but there is an absolute ton of laying on the cloths, especially on the brighter colours.

Anyway, that is all for now.
If you're enjoying this project leave a comment, hit me up @DarkHaZZl3 on Twitter, or check out my instagram where I tend to post things as I do them.
So, you know. Spoilers!


That is all for now.

Peace!

-DH-
Friday, 29 May 2015

53. Custom Paintjob: Mice and Mystics part 2.

I have been smashing out this project so far.

After prepping the models I gave all the heroes a quick base coat to help distinguish them from each other... but as that is pretty dull I'll share with you something a little more interesting.

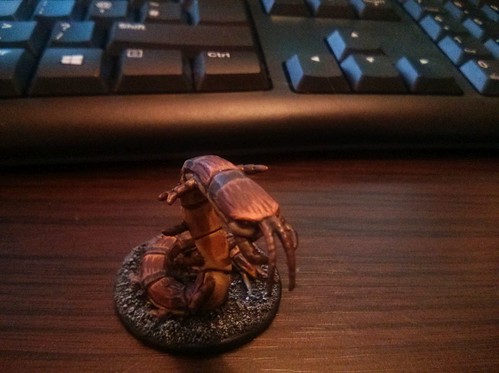
I spent a great deal of time painting on of the enemy creatures; the centipede.
Some of you may know this already if you follow me on Instagram or Twitter.

Here is the sneak preview I sent out a couple of days ago;


011

I continued working on it yesterday, giving the carapace some highlights and detail.


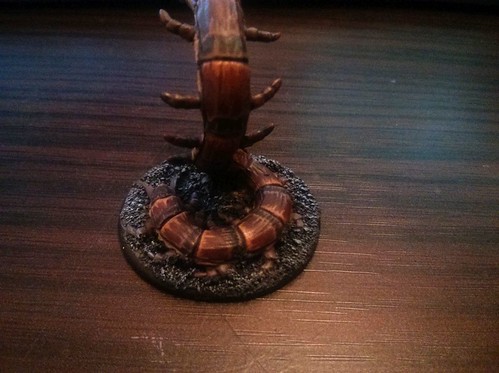
012


013

The bottom half of the second picture is the most true to life in terms of colour and clarity.
The highlights don't jump out with absurd amount of brightness, but they are noticeable at a distance, and look pretty good close up too.

The base is set to match the colour of the tiles in the game, while retaining a bit of a rubble/ lose ground feel.
I think the contrast between grey and brown/ cold and warm colours works quite well.

I'm really happy with how it is turning out so far.

Still a little more to do on this guy.

So, as always, if you have any questions about the modeling, sculpting or painting progress then feel free to drop me a comment or hit me up @DarkHaZZl3 on Twitter.
Also, follow me on Instagram for sneak peaks and other general stuff!

Ciao.

-DH-

Tuesday, 26 May 2015

52. New project: Custom paintjob for Mice and Mystics.

So, those of you who follow my hobby progress on The Underhive Hero or The Bolter and Chainsword will know I've been doing a fair amount of painting recently (for me at least).

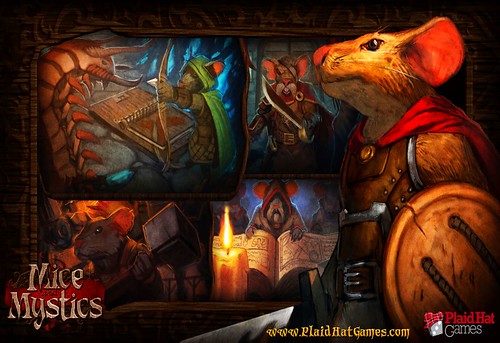
I also mentioned that I've been working on painting up the Miniatures that are included in the Mice and Mystics board game.


001

The first time I ever played Mice and Mystics I always thought the game would be much more engaging if the miniatures were more visually distinct.
I mean, the miniatures from this game look pretty awesome; the plastic is a bit rubbery for my liking, but it does the job well enough.
The models were of good quality, but they were all beige which made it difficult to pick out the player characters at a glance.


002

It is to this end that I decided to give them custom paint jobs.

I thought I'd share my progress with you.


First step was was to clean up the models.

Here the hobbyist in me really comes to the fore.
A pet hate of a lot of hobbyists is mold lines and gaps


003


004

It isn't really a huge issue, but as you might well know if you do follow my hobby endeavors, is something that bugs me.

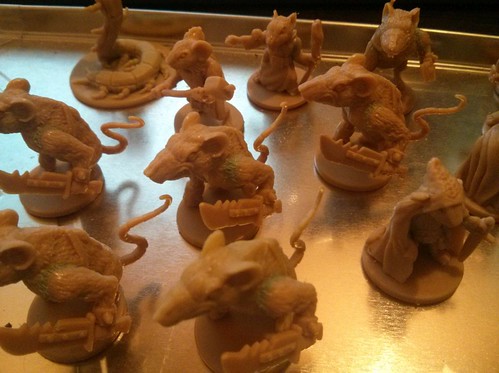
So, I used my hobby file and craft knife to tidy up the mold lines that I could; a task made more difficult than it should have been by the soft rubbery plastic used to make the miniatures.
I then proceeded to fill in the gaps.

To fill gaps I use a material called 'green stuff.'
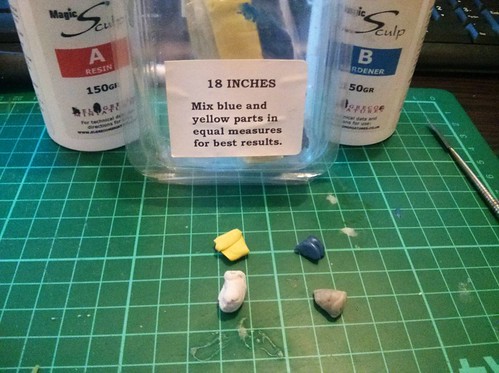
It is a two part part epoxy resin that is malleable when mixed, but becomes hard and waterproof when it has cured..
I also add another two part resin called 'magic sculpt.' This makes it a bit more workable and at the same time reduces the curing time.

I do this in a 1:1:1:1 ratio


005

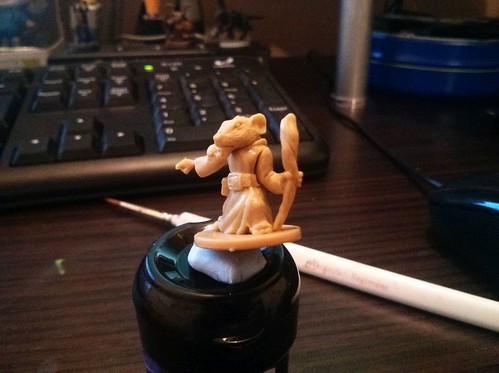
While most of the work is just filling and smooth gaps, there is a little sculpting required.


006

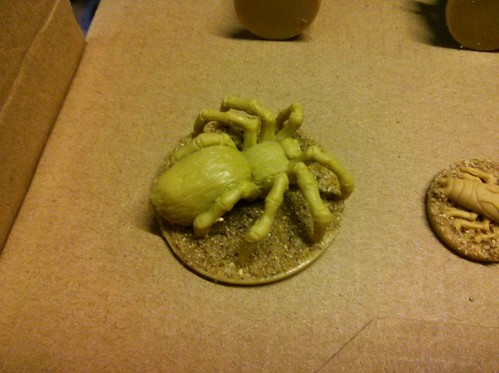
Seeing as I intend to go the whole hog with this, I also decided to add some sand to the bases, to give them a little texture.


007

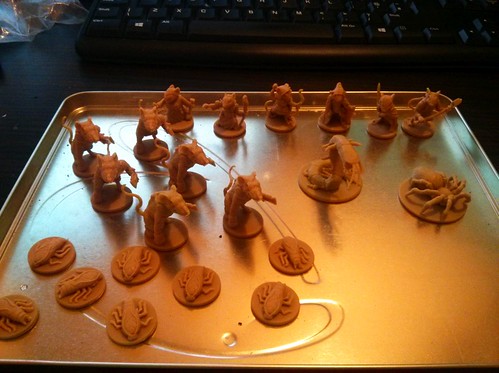
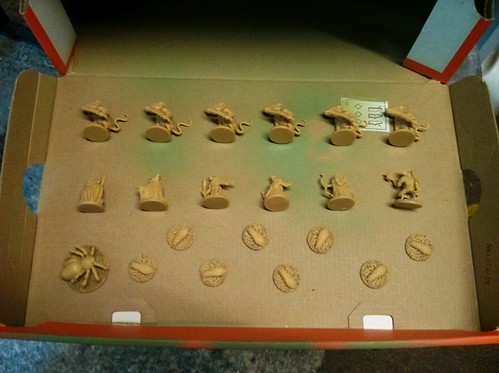
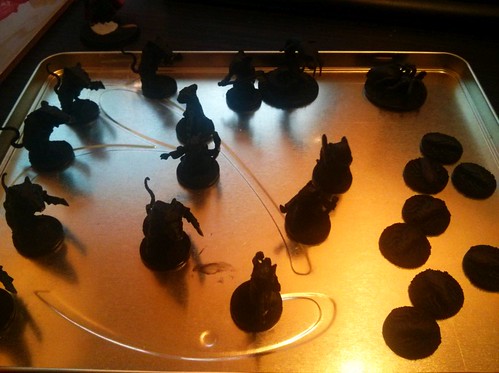
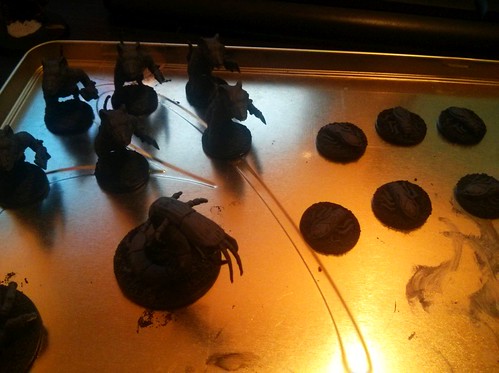
Then it is time for the black undercoat.


008


009

The next step I did was to paint on a dark grey 'guide coat.'
This helps me to pick out any of the details.


010

That is all for now.
I'm enjoying painting this project so far, but like all painting projects, it is extremely time consuming.

If you have any questions about the modeling, sculpting or painting progress then feel free to drop me a comment or hit me up @DarkHaZZl3 on Twitter.
Also, follow me on Instagram for sneak peaks and other general stuff!


Peace out!
-DH-
Tuesday, 19 May 2015

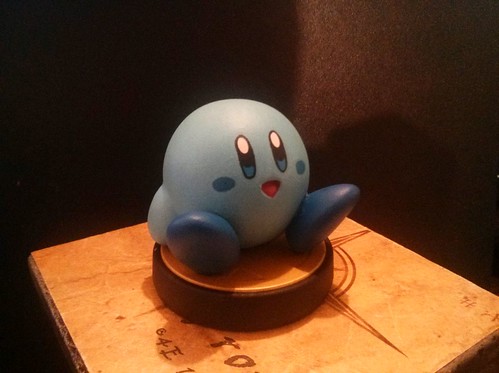
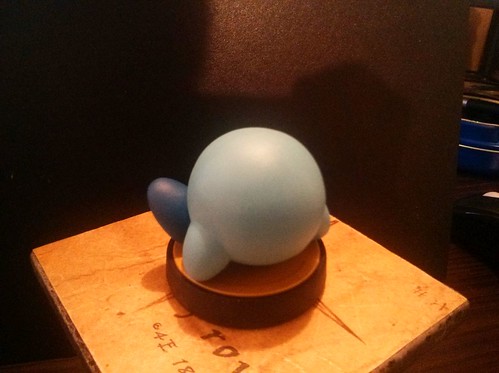
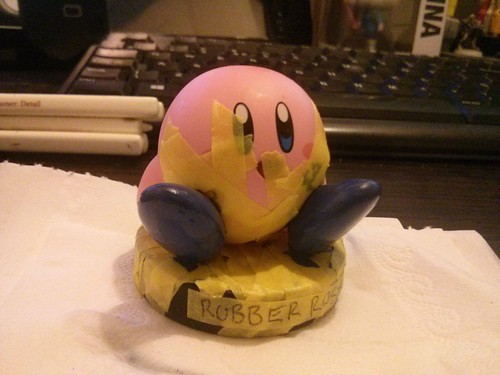
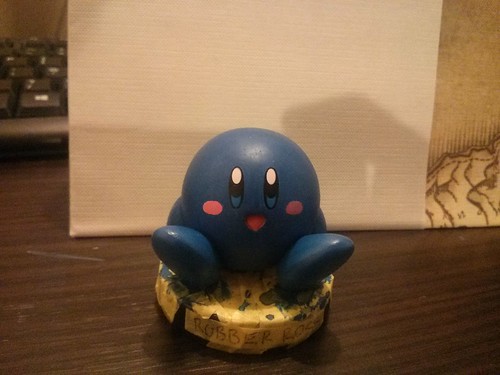
51. Rubber Ross Kirby Amiibo complete!


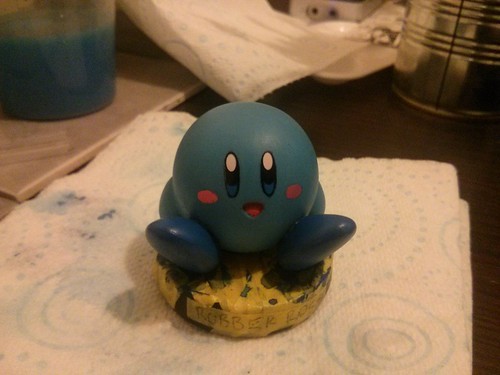
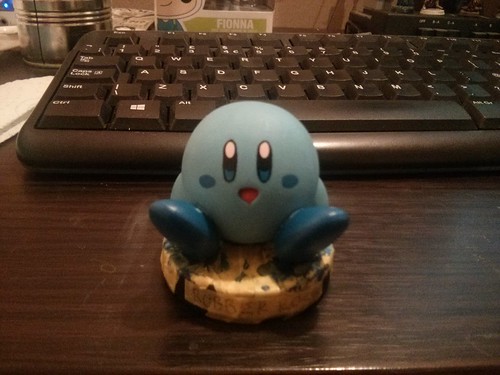
I finished my Rubber Ross inspired Kirby Amiibo project!

011

012

It was just a case of adding a final layer of blue to the shoes, covering up any slip ups on the body and defining the mouth.
Also, scraping the the paint of the base. Note to self: More masking tape next time.

It was all finished off with a coat of satin spray varnish (purity seal)


You can check out the whole project from start to finish in pictures over on my Flickr account.


All constructive feedback welcome!
If you'd like to know anything about the project then feel free to get in touch.
Also, if you have any custom Amiibo's you'd like me to do, then throw a suggestion/ request at me.

Either way drop me a comment, or tweet me @DarkHaZZl3


That is all for now.

Check back for more projects, both old and new coming soon.

Peace
-DH-
Thursday, 14 May 2015

50. Coasting...


That is a pun.
Something I usually reserve for The Underhive Hero, but seeing how this post is somewhat craft related I think it is fitting.

I've spent a lot of my free time over the last year watching videos on YouTube.
I try to keep up to date on my selected YouTubers shows each day/week and idly trundle through their back catalogs when I'm bored.
This is something I never thought I'd end up doing, but there you have it.

One of these people is a lady who goes by the handle Dodger.
you can check out her two channel here - DexBonus & Press Heart To Continue

One day I stumbled upon this:


I love this idea.
After a bit more trawling I noticed Dodger had previously made another video where she made coasters with maps and tiles too.

I thought this looked like it could be a lot of fun and easily personalised, so I thought I'd give it a go.

After some intense research, I found it near impossible to find reasonably priced wooden...anything in the UK.
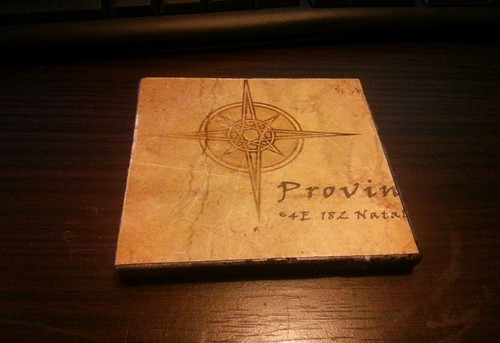
So I headed down to a local discount tile warehouse and picked up a few free samples to try the idea out on.

I ordered a Skyrim map from eBay and butchered myself the corner piece.
No one is going to want this piece, so I didn't mind messing it up.

Here is the result;


001 - Coaster prototype

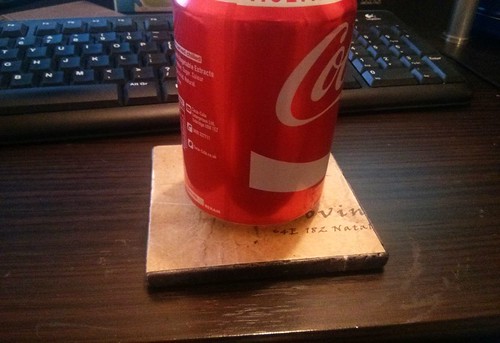
And here it is in use (under a 330ml can of coke) for size comparison;


002 - In use

I think it came out pretty well.
I think in future I'll mess the map up a little more; added scrunching, some tears and burns maybe.... who knows.

Now all I need to do is go and grab a ton of the slate tile I used to make this one and I can have some matching coasters!

Not the biggets update I know, but I've been kept busy of late with the usual stuff.


Issue 5 of The Cardboard Cartographer e-zine is out. A review of Cash and Guns second edition amongst other things awaits on the other side of that link.

I also managed to do some painting! I finally finished my Lamp Posts for my War Gaming board, you can check it out over on The Underhive Hero or my hobby thread on The Bolter and Chainsword.

I've been working on my Dungeons and Dragons campaign with some story writing, adventure planning and lots of sketches and drawings.

I have started to do some research on another 'rant like' post, so if you miss the Political stuff it might well be making a strong comeback. I cannot abide by the state of things currently.

Anyway that's all for now.
Comment, Tweet me @DarkHaZZl3 or ignore this. Whatever floats your boat

-DH-


Tuesday, 5 May 2015

47. Moar Amiibo stuff!


Yup, I've been doing some more work on my creative projects, namely my Amiibo's.

Most time has been spent on Kirby so far.

So I started with the base layer...


006


007


008

I know it looks totally odd, but it does get better.

The first layer of light blue;


009

And with the 'final' shade of light blue with the cheeks and eyes done.


010


I'd like to throw out a thanks to my friend Mike who helped me pick out the paints to paint this guy.
As far as colour selection goes i
t looks pretty sweet.

I know the cheeks are not totally symmetrical which is annoying, and the paint finish is a bit rough due to one too many layers, but that is the purpose of trying these things out.

I know the mistakes I made this time round and how to correct them for the future.

Kirby isn't finished yet mind.
I've just applied a layer of satin varnish before I start work on the feet and then it is on to the touch ups.

I also did a little more work on Pikachu.
I glued the goggles into place and sculpted the straps of the goggles.


007
008
009
010

Need to sculpt the buckle, fill in the gaps under the goggles and join the lenses to the straps before I start painting this one up.
Not actually going to change the colour of Pikachu, just paint the headgear so it shouldn't take anywhere near as long as Kirby to paint.

That's all for now.

Let me know what you think in the comments, tweet me  @darkhazzl3 or follow me on instagram @darkhazzl3 where I'll post sporadic updates of whatever I'm doing at the time.

Peace
-DH-